Materials needed
To successfully create your woven pendant light from Dollar Store plastic colanders, gather all necessary materials before starting. You will need two plastic colanders, ideally around 12 inches in diameter for a balanced size that suits most rooms. Selecting nylon cord in colors that complement your decor is essential; approximately 50 feet will typically suffice, but this depends on your chosen weaving pattern and the colander size.
A pendant light kit with a bulb socket is required to transform the colanders into a functional ceiling light. Additionally, spray paint can be used if you want to customize the base color of the colanders before weaving. To assemble and secure the parts, heavy-duty glue or zip ties are necessary, along with scissors for cutting the cord. Finally, a drill with a plastic-appropriate bit will allow you to add extra holes to the colanders if your design requires more weaving points.
- Two plastic colanders (12-inch diameter recommended)
- Colorful nylon cord (around 50 feet)
- Pendant light kit with bulb socket
- Spray paint (optional, for base color)
- Heavy-duty glue or zip ties
- Scissors
- Drill with a plastic drill bit
Preparing and assembling colanders
Begin by preparing the colanders for weaving and assembly. Invert one colander so it forms a dome shape. If you want to customize the color, spray paint this inverted colander and allow it to dry completely in a well-ventilated area. This painted base will provide a consistent background color visible through the woven cord.
Next, examine the rim of the colanders to determine if additional holes are needed for your weaving pattern. Using the drill with an appropriate plastic drill bit, carefully create extra holes along the rims where necessary. This step enhances the weaving options and allows for more intricate or tighter cord patterns.
After drilling, position the second colander with its opening facing upward to act as the base. Align the rims of the two colanders so they fit together snugly, forming a sphere-like structure. Secure the two colanders firmly using heavy-duty glue or zip ties around the rim. Make sure they are aligned properly and the bond is strong enough to hold during weaving and hanging.
Weaving techniques
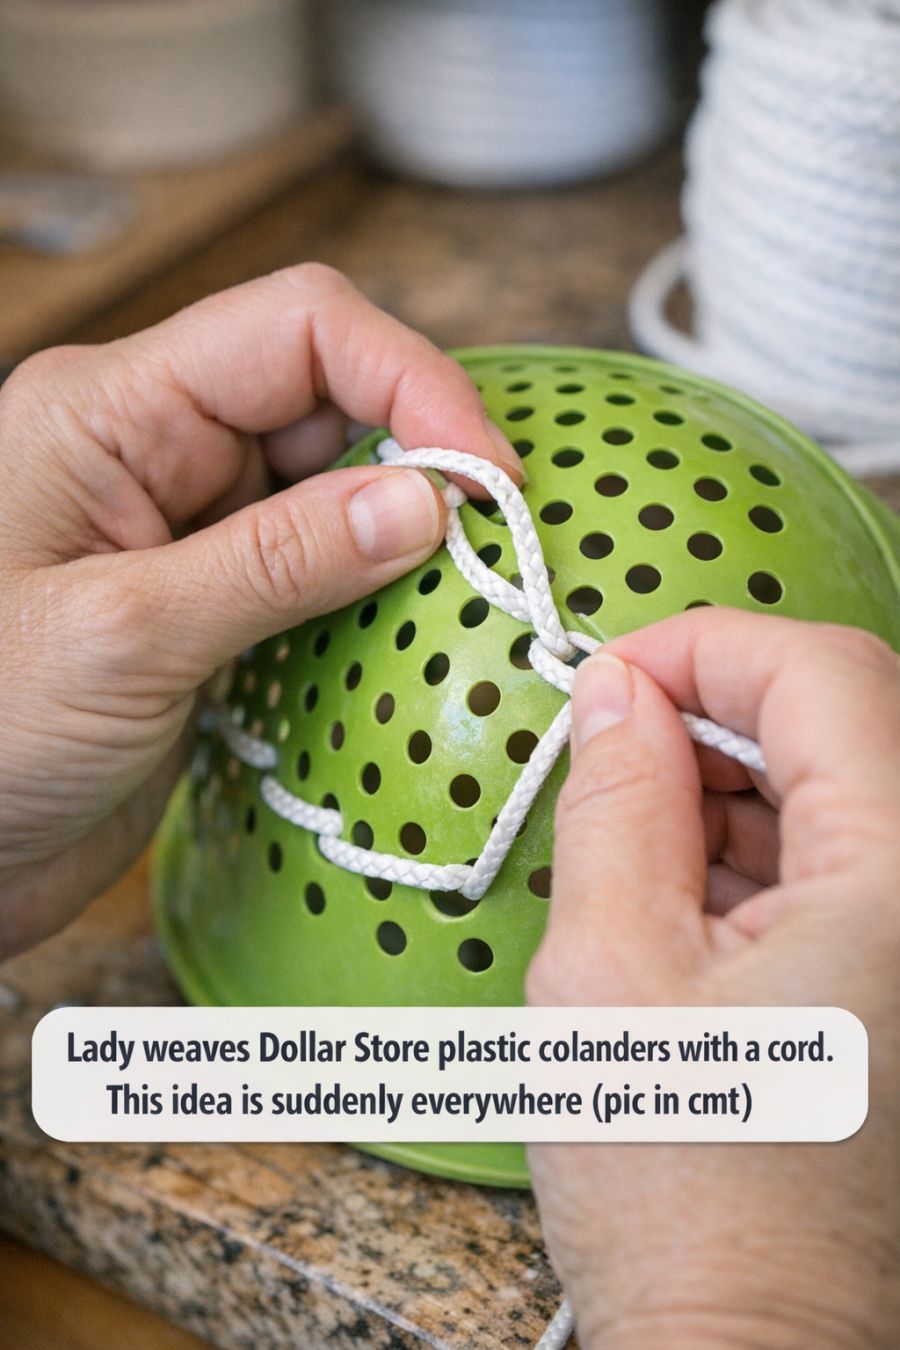
With the colanders assembled, you can begin weaving the nylon cord through the holes. Start by anchoring the cord at one hole and looping it through to the opposite side, creating a foundation for your pattern. Experiment with different weaving styles such as crisscross, spiral, or basket weave to achieve the desired texture and visual effect.
Weaving can be simple or complex depending on your preference. For a minimalist look, use a single color cord and maintain uniform spacing between loops. For a more vibrant effect, mix multiple cord colors and vary the tension and direction of the weave. The holes you drilled earlier give you flexibility to create denser or more open patterns.
Continue wrapping and crossing the cord until the entire surface of the colanders is covered, ensuring the cord is taut but not overstretched to avoid damaging the plastic. Finish by securely tying off the cord and trimming any excess. This woven surface will diffuse light beautifully when the pendant is lit, adding warmth and artistic appeal to your space.